PRODUCT SPECIFICATIONSWindow Graphics Specifications
For printing terms and production definitions, visit our Glossary.
Choose the finished dimensions and orientation, then select the material according to the glass surface, desired opacity, lighting, viewing direction and how permanent or removable the installation should be. Standard, high-tack and low-tack vinyl provide different adhesive strengths, while clear, translucent, static-cling, dual-view, reflective, backlit and perforated media address more specialized window applications.
Finished width is available up to 52". Before installation, make sure the glass is clean, dry and free of dust, oil, wax and residue. Consider whether the graphic will be viewed from inside, outside or both directions, and remember that lighting conditions can significantly affect clear, translucent, perforated and dual-view graphics.
If your project requires another window material, unusual installation condition or configuration outside the available online choices.
Request a Custom Quote.
Size & Orientation
Enter the finished width and length in inches, then choose the direction that matches the artwork. Finished width is available up to 52"; the Templates section includes popular sizes and orientations that fit within that maximum width.
 Horizontal
Width is greater than height
Landscape layouts are common for banners, storefront graphics, wall signage, fence graphics and wide display panels.
 Vertical
Height is greater than width
Portrait layouts suit standing signs, window graphics, narrow wall graphics, directional panels and other tall displays.
Printing
Choose how the finished piece is printed. Two-sided printing is only meaningful on materials that are printable and visible from both sides.
 Full Color
The standard choice for most adhesive graphics, posters, mounted signs, banners and display pieces viewed primarily from one direction.
Material
Choose material based on where the finished graphic will be used, how it will be mounted and how long it needs to perform. Options range from economical poster and display media to rigid boards, adhesive films, banner materials, specialty wall and floor graphics, translucent products and durable outdoor substrates. Thicknesses, finishes and specialty constructions are noted where they help distinguish the best application.
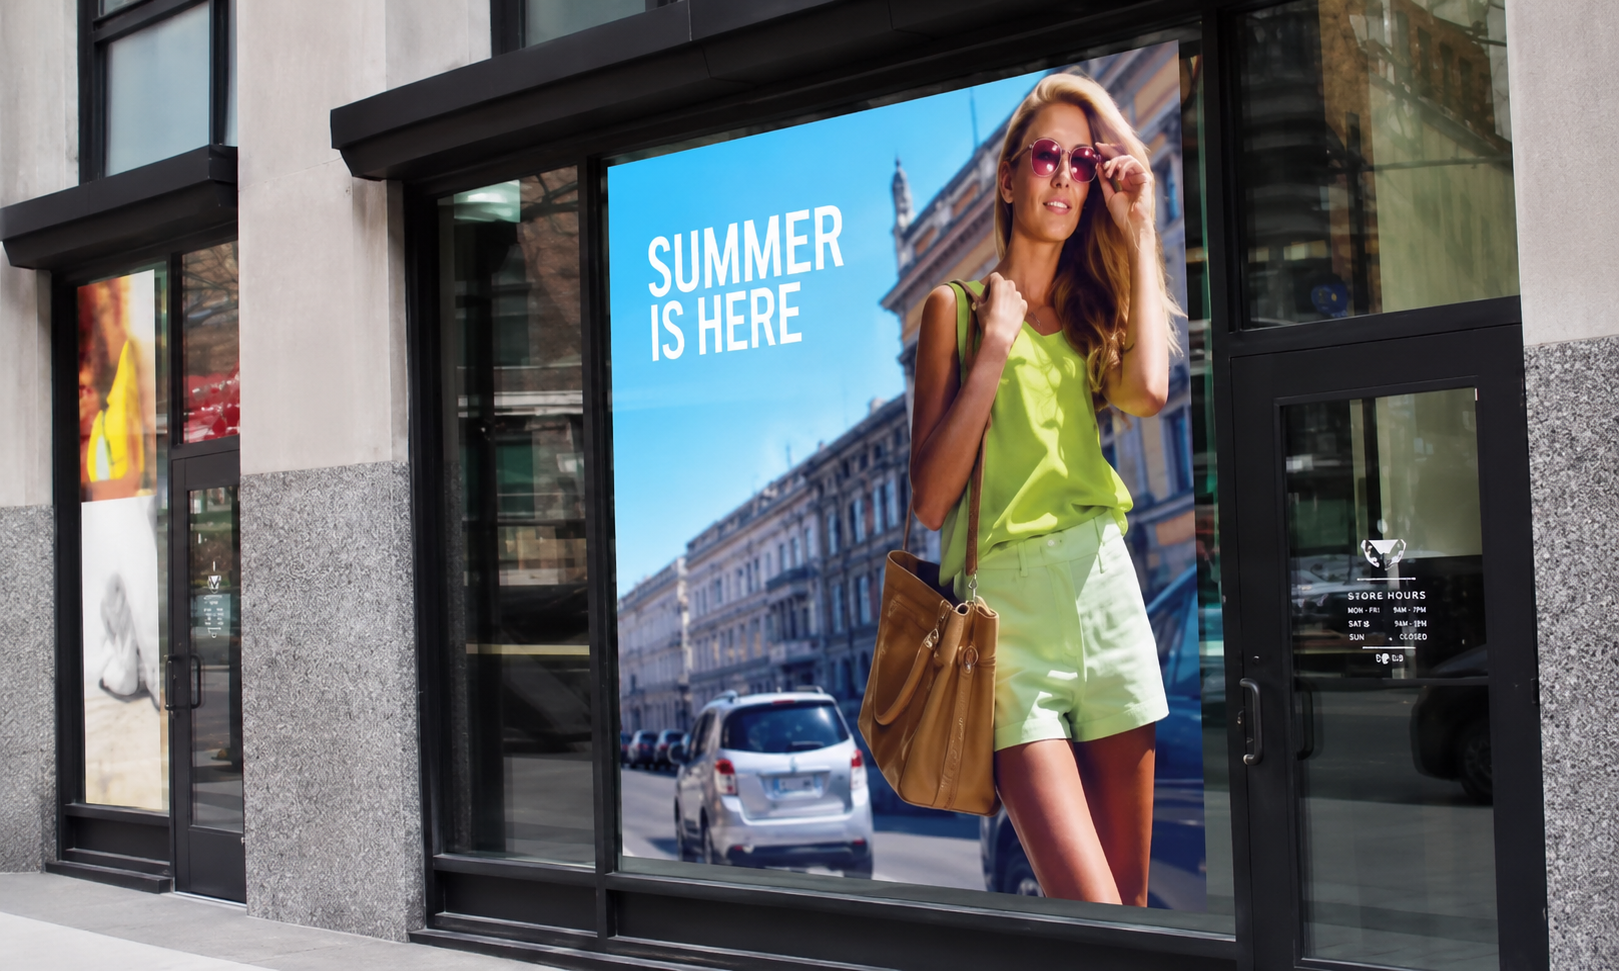
Standard Vinyl3mil Standard Gloss Vinyl; 3mil Standard Matte Vinyl
Versatile everyday adhesive vinyl for clean, smooth surfaces.
Highlights: Cost-effective; general-purpose; smooth; indoor/outdoor; gloss or matte
Best for: General signs; windows; smooth panels; promotional graphics
Consider: Not for difficult low-energy surfaces; not a vehicle-wrap substitute
Finishing: Lamination can add abrasion/UV protection.
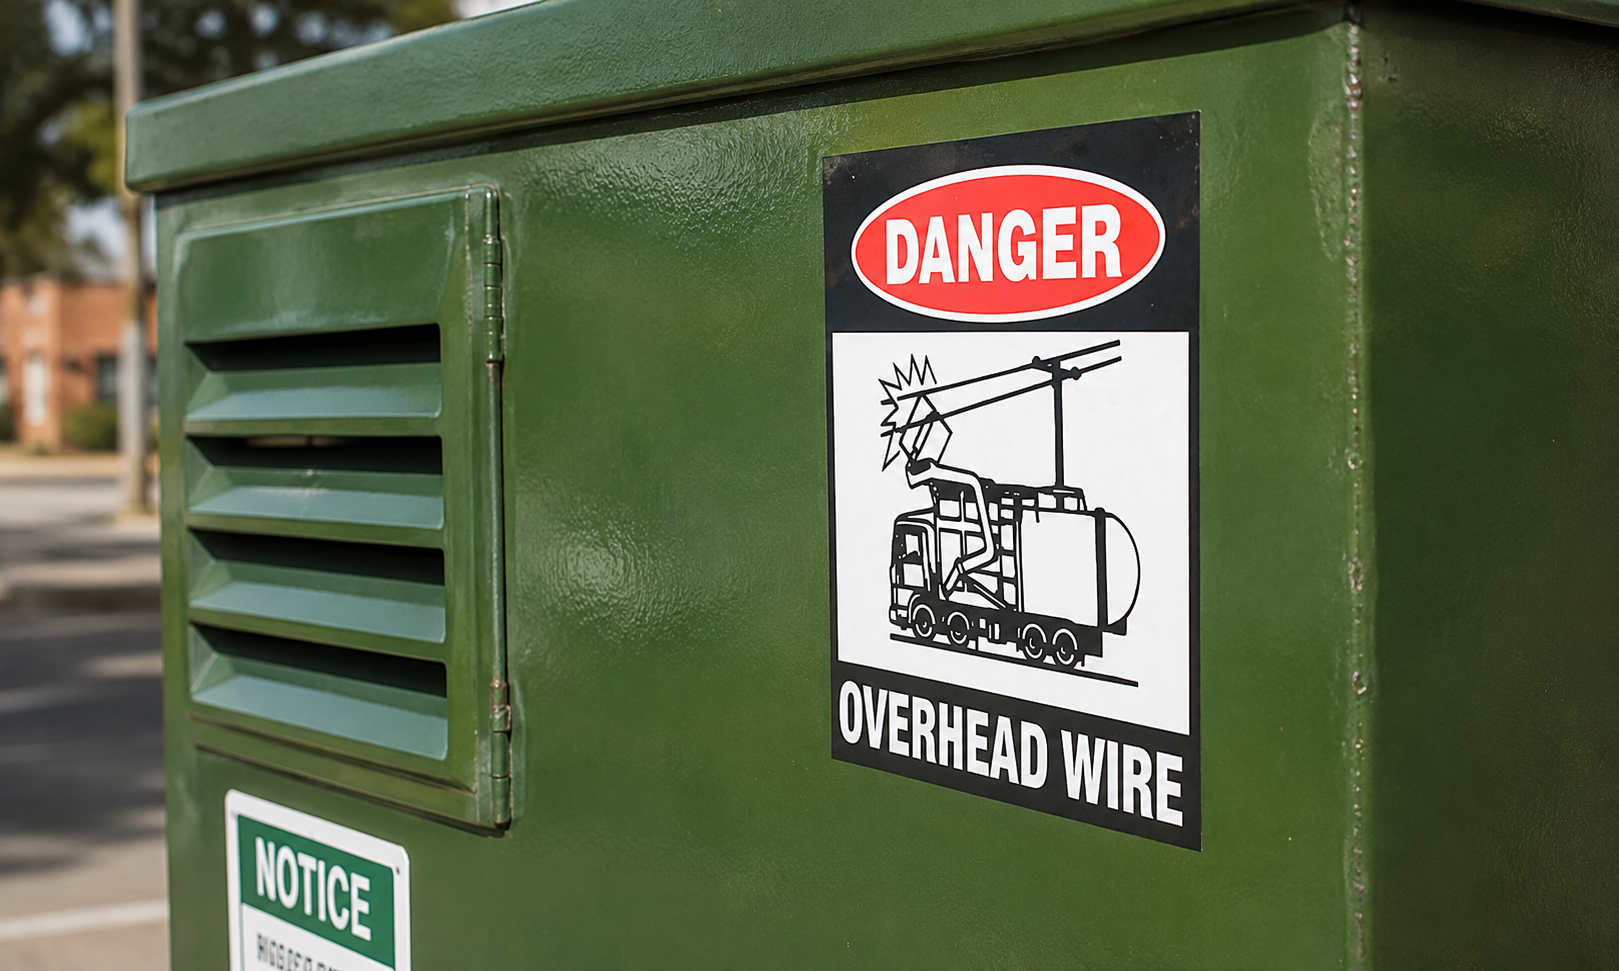
High Tack Vinyl3mil High Tack Gloss Vinyl; 3mil High Tack Matte Vinyl
Stronger-bond adhesive for surfaces where standard vinyl may not hold reliably.
Highlights: Aggressive adhesive; durable; stronger bond; gloss or matte
Best for: Low-energy plastics; textured/difficult surfaces; equipment
Consider: Harder to remove; surface testing recommended
Finishing: Lamination recommended where abrasion is expected.
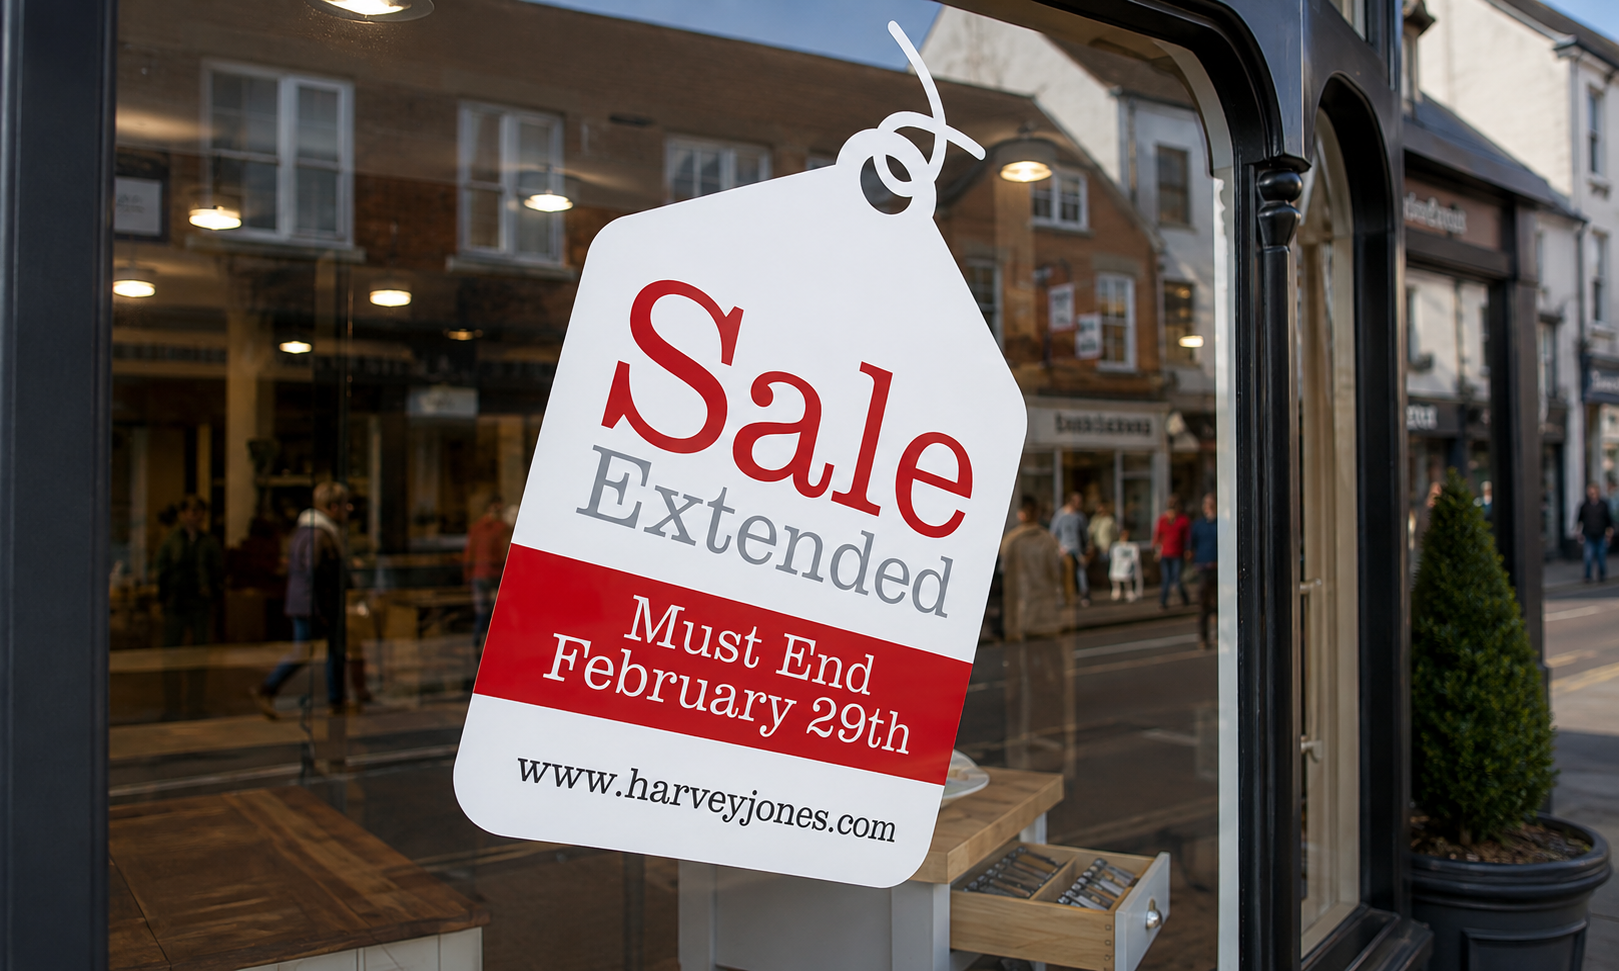
Low Tack Vinyl3mil Low Tack Gloss Vinyl; 3mil Low Tack Matte Vinyl
Temporary adhesive vinyl designed for easier removal.
Highlights: Removable; lower initial tack; temporary; gloss or matte
Best for: Temporary promotions; short-term window/wall graphics
Consider: Not for long-term exterior exposure or difficult surfaces
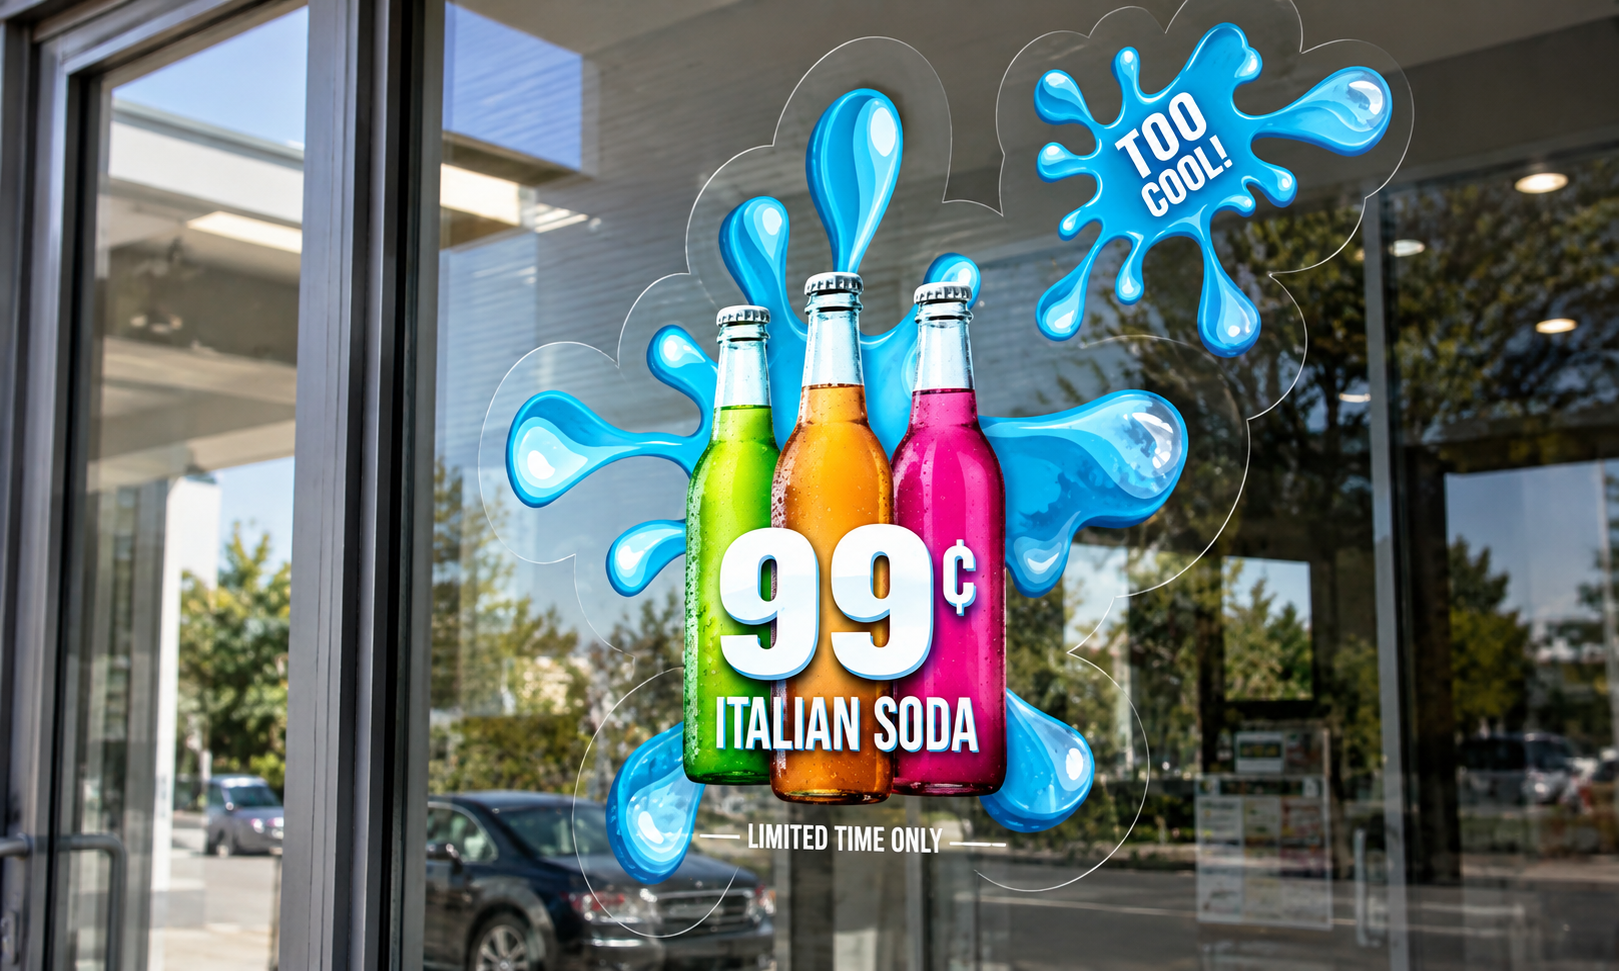
Clear Vinyl2mil Clear Vinyl
Clear vinyl keeps unprinted areas transparent.
Highlights: Transparent; see-through unprinted areas; clean window appearance
Best for: Glass; windows; transparent overlays; decals
Consider: White ink may be needed for opacity
Finishing: Consider white ink depending on artwork.
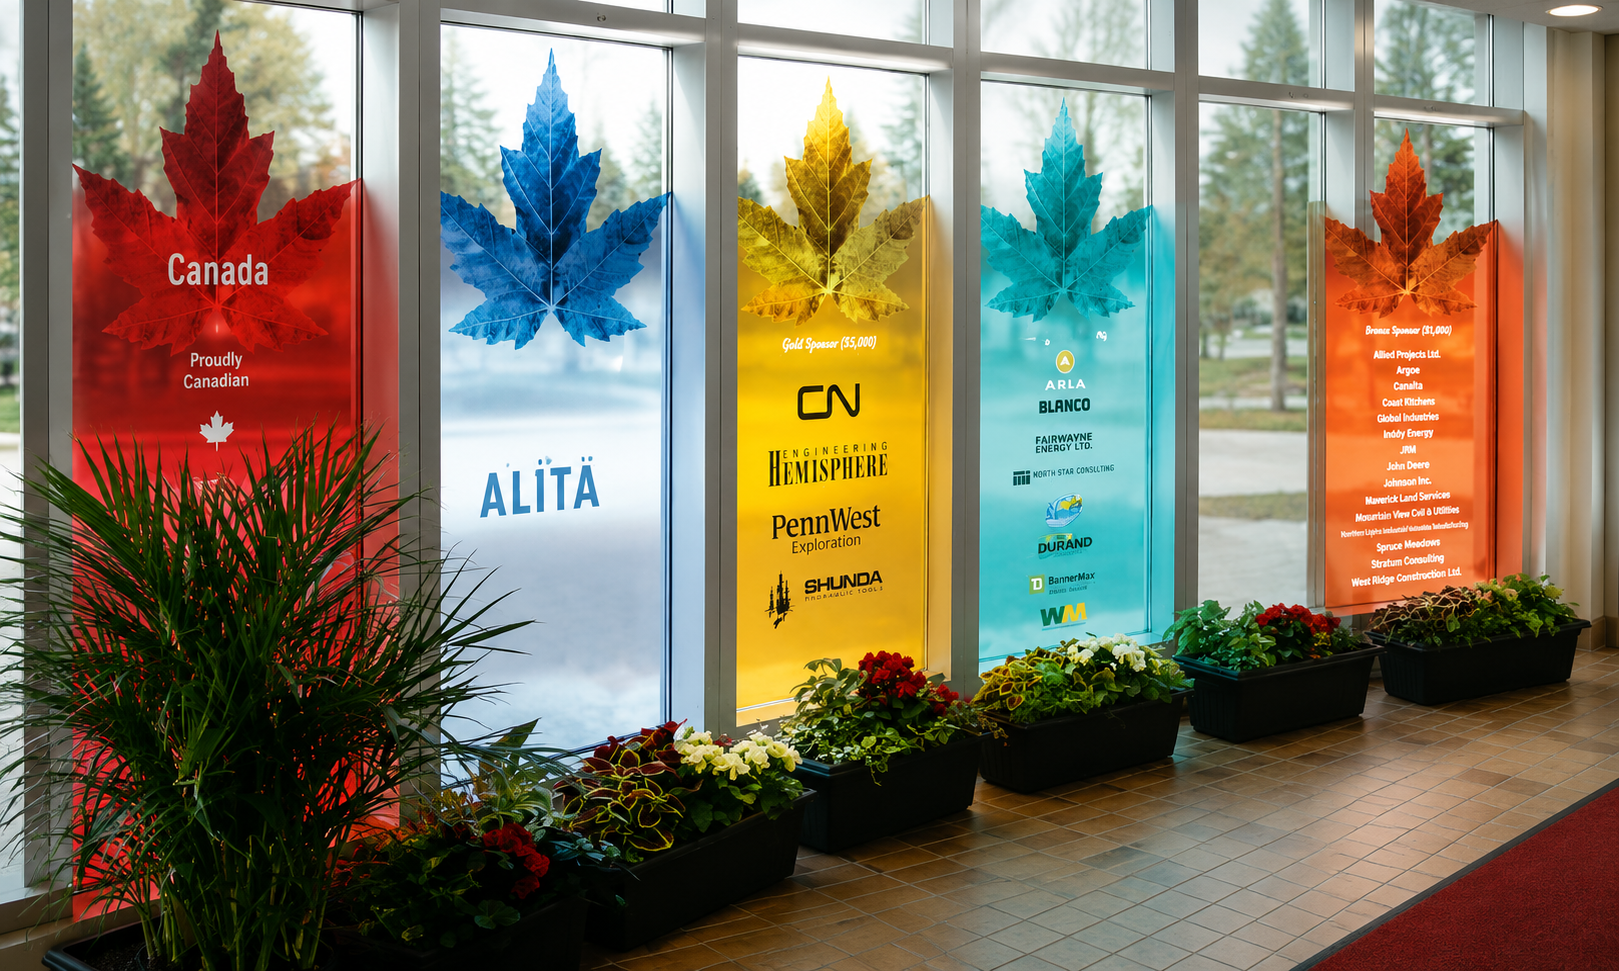
Translucent Vinyl5mil Translucent Vinyl
Translucent vinyl is engineered for graphics viewed with light passing through the sign face.
Highlights: Light-transmitting; illuminated appearance; durable
Best for: Backlit sign faces; light boxes; illuminated displays
Consider: Color appearance changes when illuminated
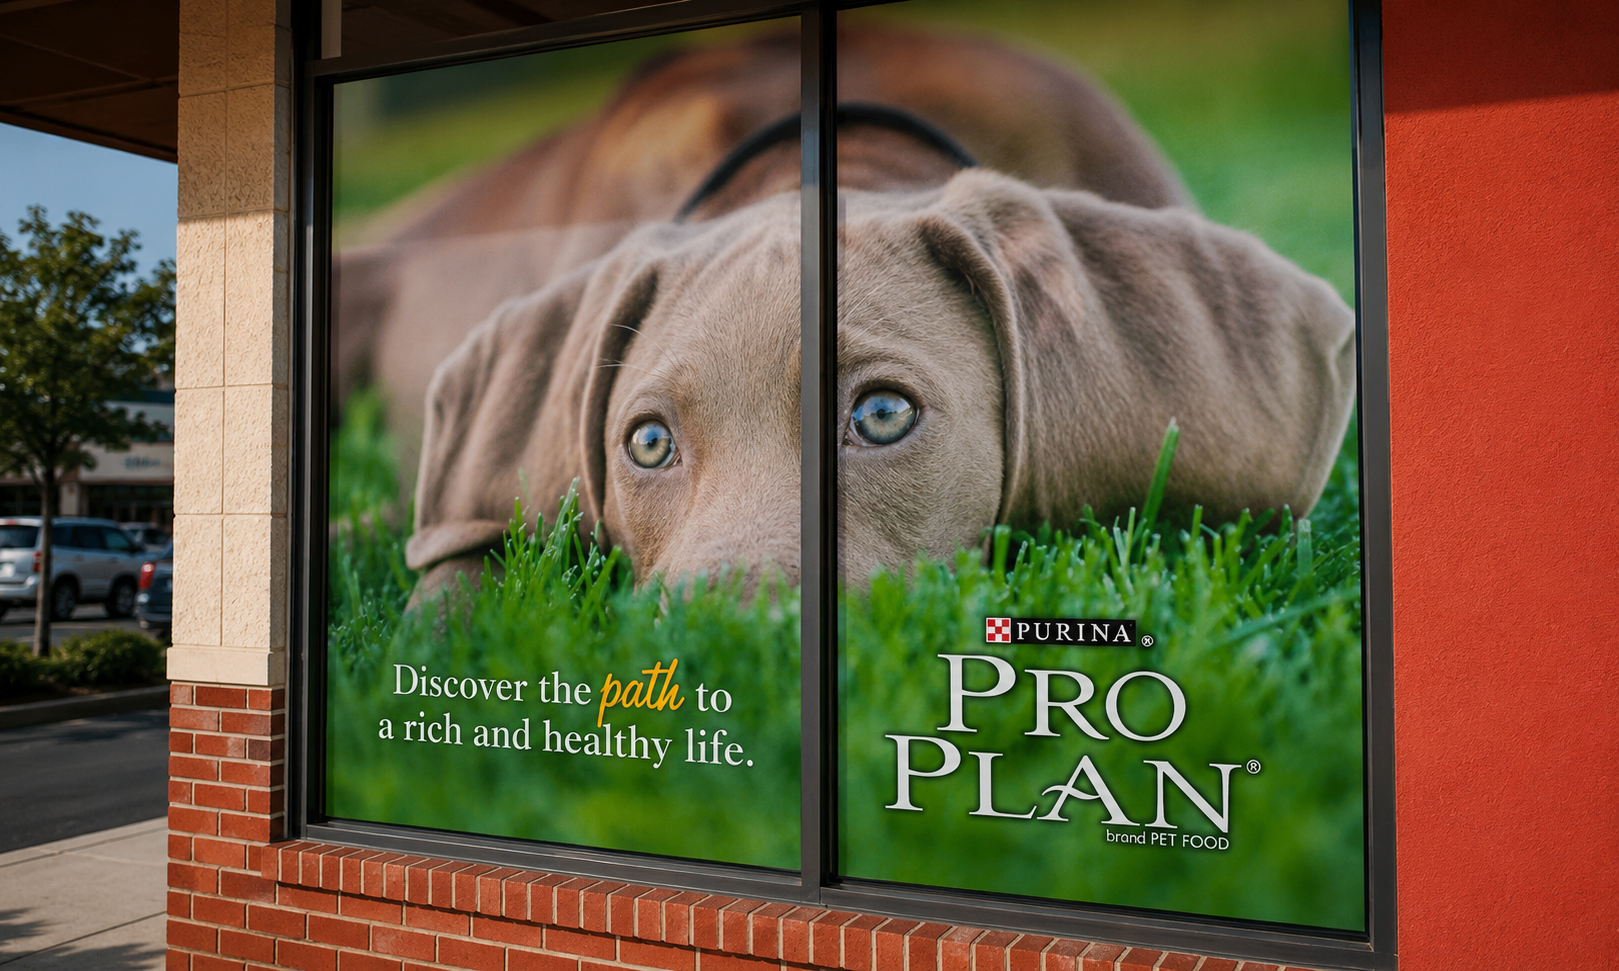
Static Cling7mil White Static Cling; 8mil Clear Static Cling – Mount From Inside; 8mil Clear Static Cling – Mount From Outside
Static cling attaches to smooth glass without permanent adhesive.
Highlights: No adhesive; removable; reusable; white or clear; inside/outside mounting
Best for: Windows; seasonal promotions; temporary retail messages
Consider: Best on clean smooth glass; dust can affect performance
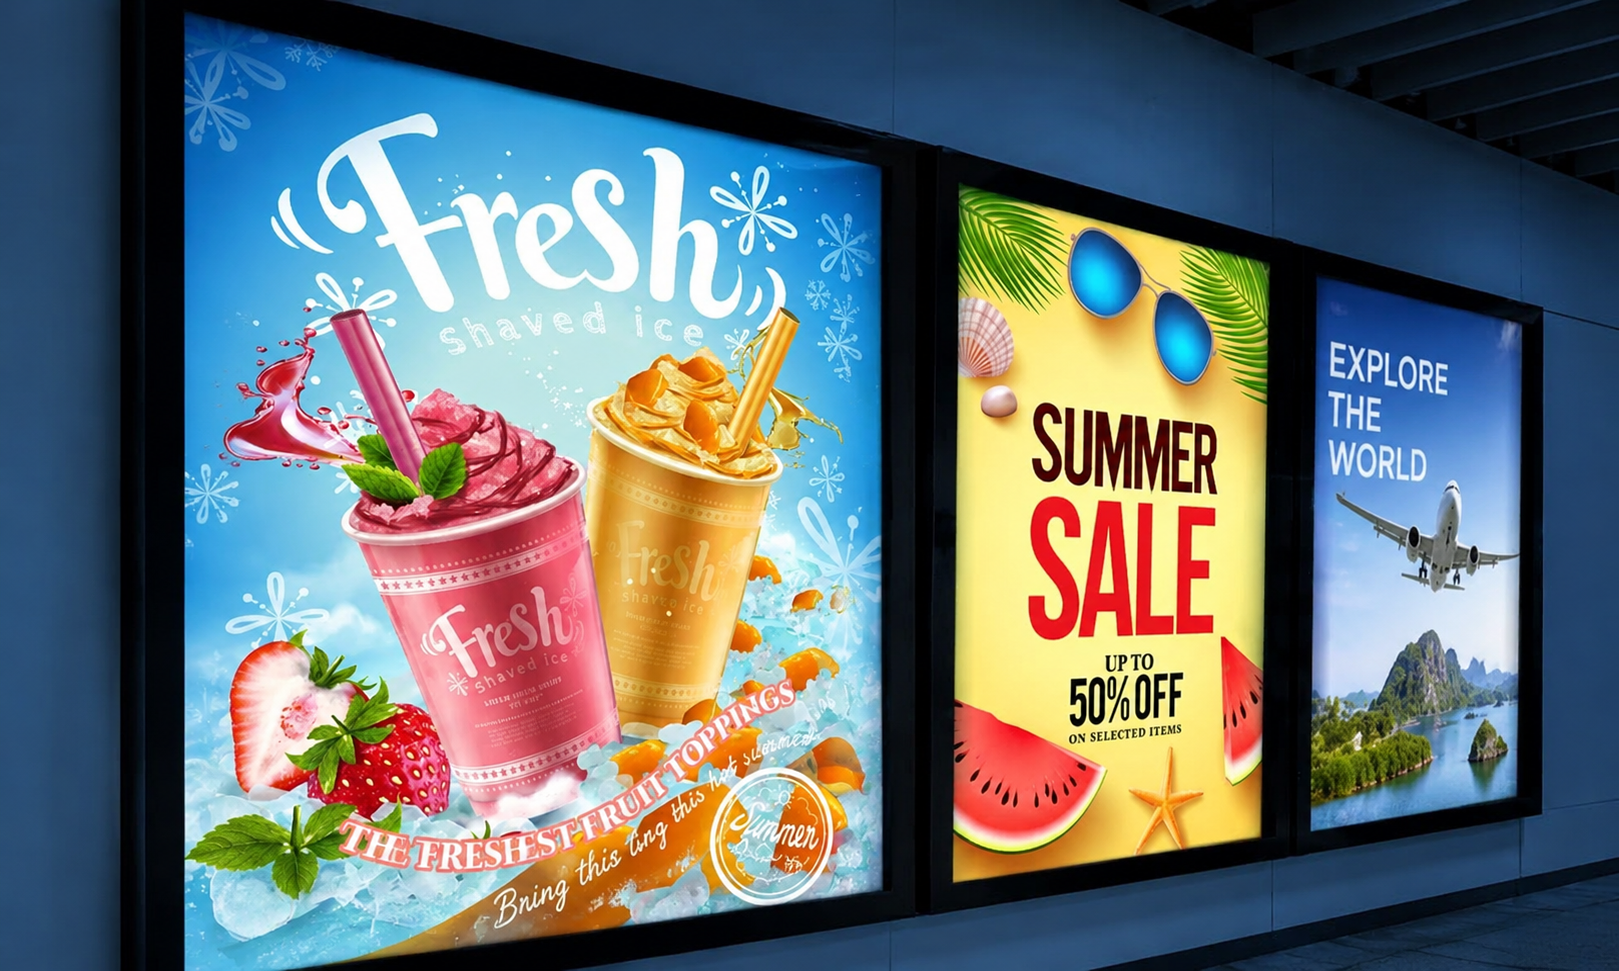
Backlit FilmBacklit (Illumination) Film
Designed for vibrant graphics in illuminated display systems.
Highlights: Translucent; high color; illuminated display
Best for: Light boxes; menu boards; transit/display cases
Consider: Requires suitable illumination
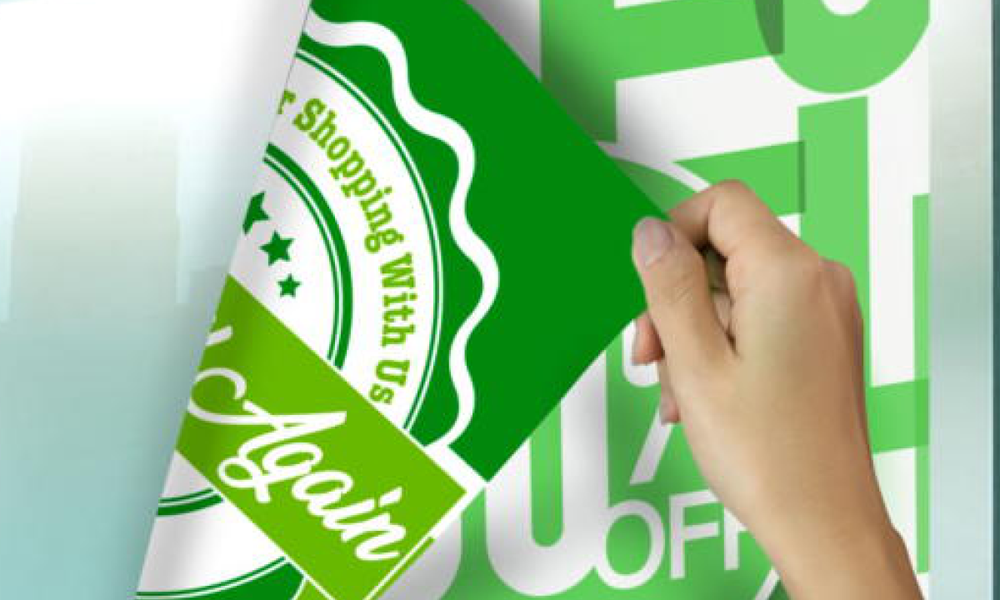
Dual ViewDual View Printed Both Sides; Dual View Printed One Side
Designed for windows where the display may be viewed from both sides.
Highlights: Two-sided viewing; window-facing graphics; different messaging by side
Best for: Storefront windows; doors; glass partitions
Consider: Artwork setup depends on one-sided vs two-sided printing
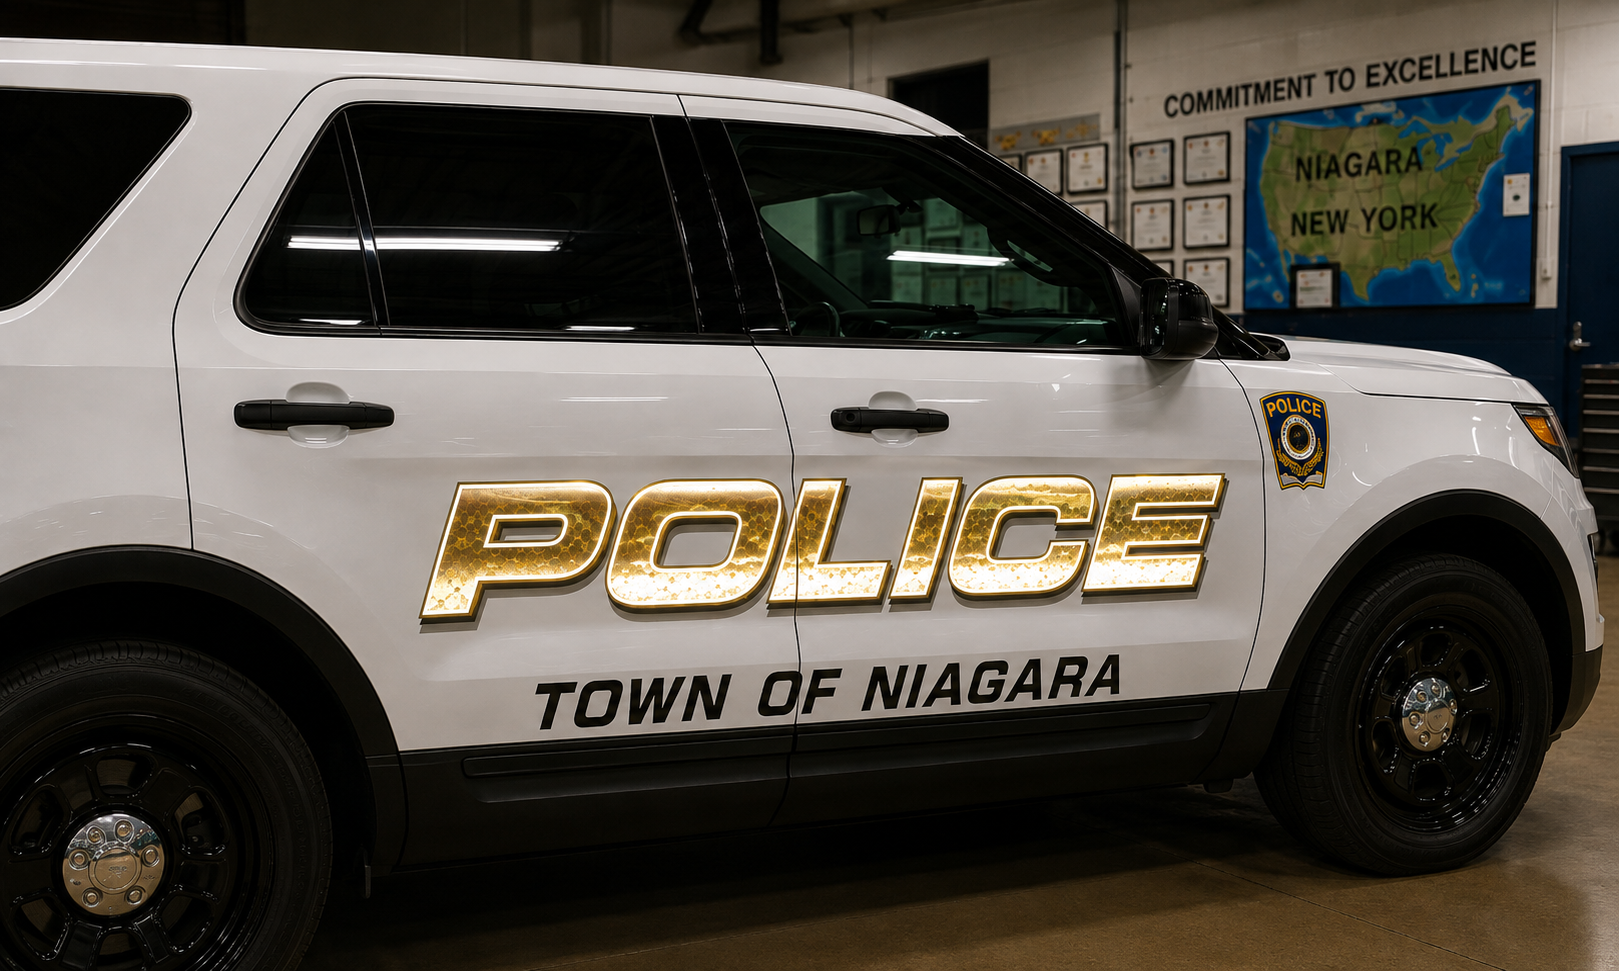
ReflectiveReflective media increases nighttime visibility.
Highlights: High visibility; reflects light; outdoor capable
Best for: Vehicle markings; equipment; nighttime signage
Consider: Depends on light source and viewing angle
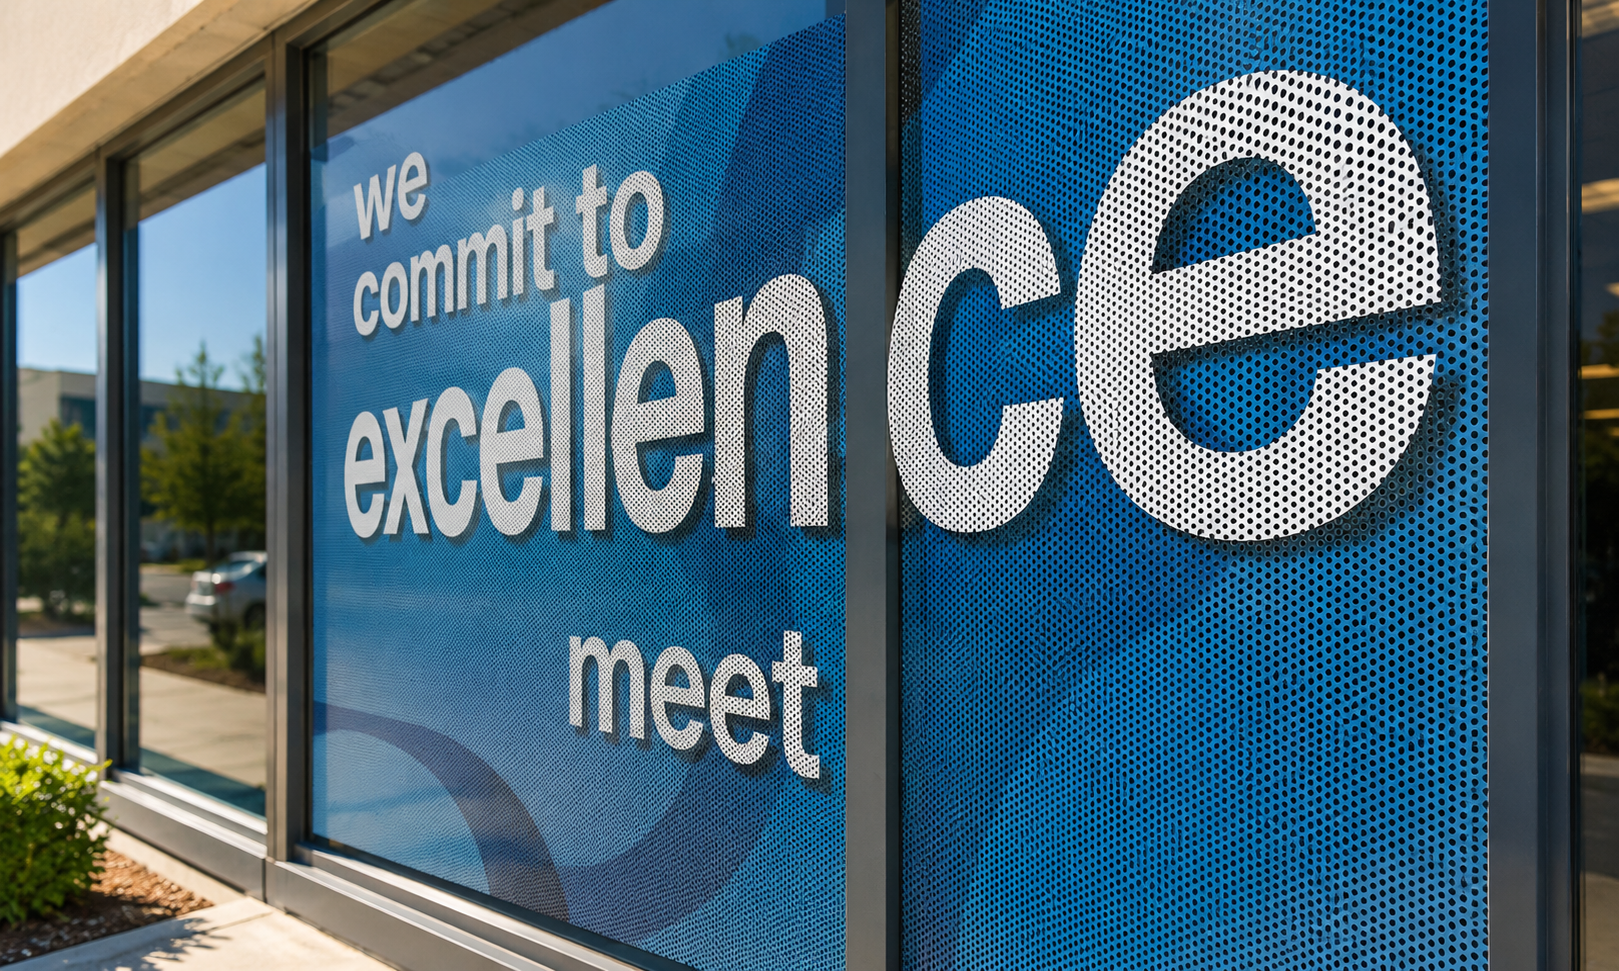
Window PerfWindow Perf (One-Way)
Displays printed imagery while maintaining visibility through perforations.
Highlights: Perforated; see-through; one-way visual effect
Best for: Storefront windows; vehicle windows where permitted
Consider: Lighting balance affects effect; check regulations
Finishing: Adhesive and non-adhesive variants.
Lamination
Gloss and matte lamination are available for compatible window graphic materials. Lamination can add surface protection and alter the finished sheen.
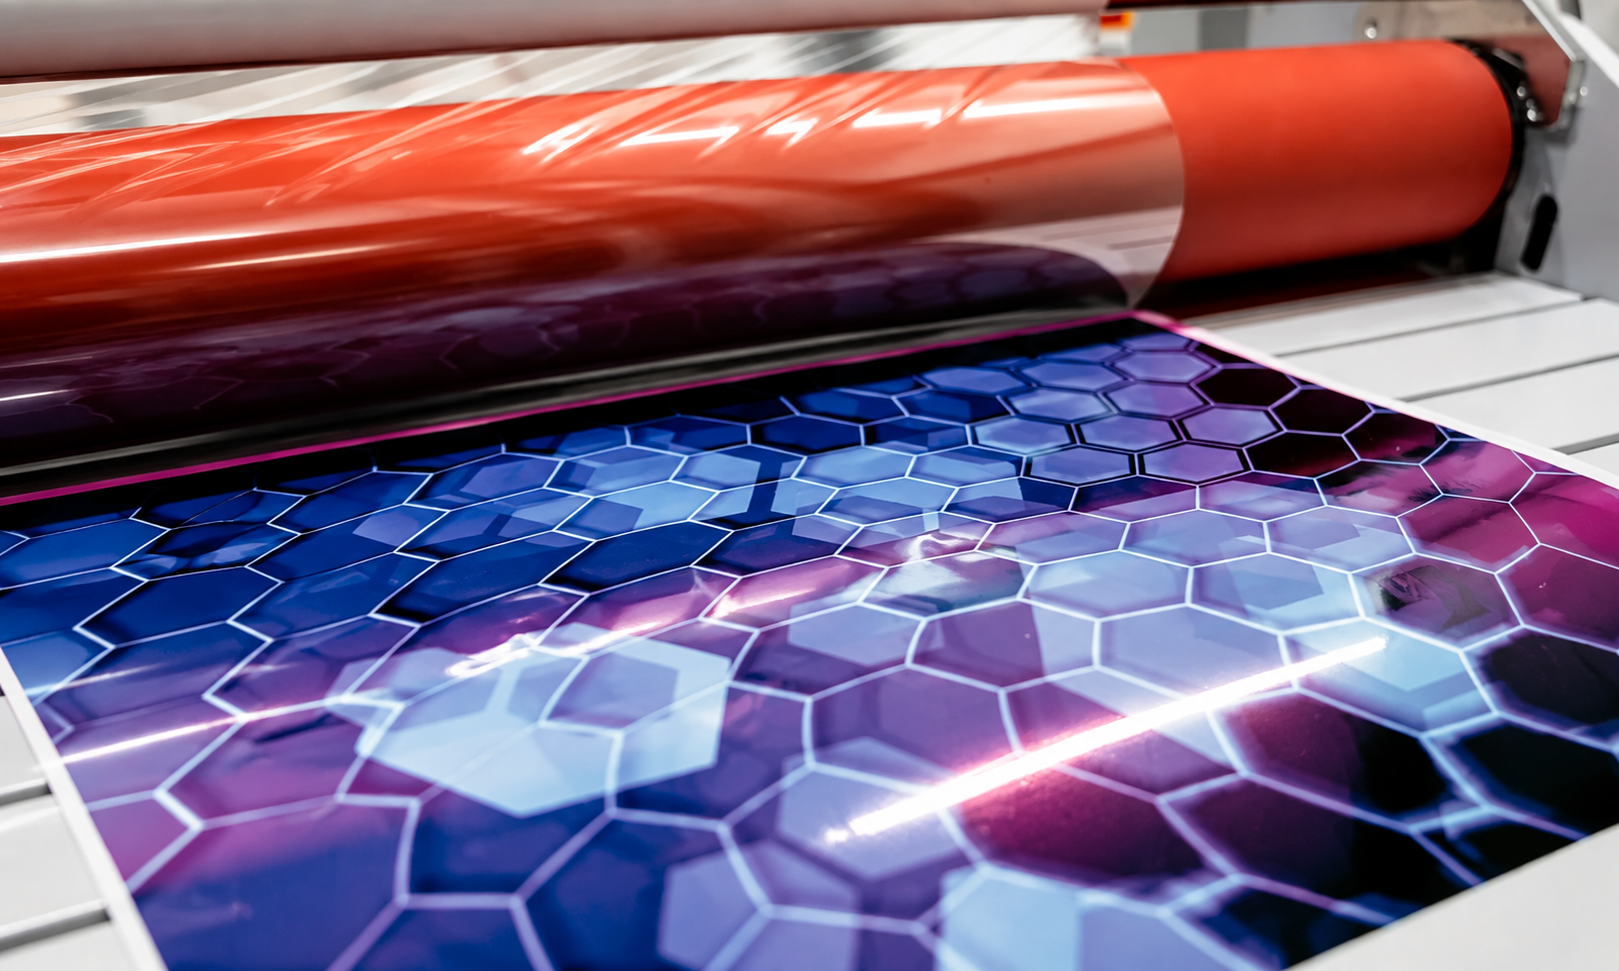
Gloss LaminationAdds shine and protection while increasing color saturation.
Highlights: High sheen; color pop; abrasion protection; easier cleaning
Best for: Photos; retail graphics; outdoor vinyl; vibrant signage
Consider: More glare under strong lighting
Finishing: Use only with compatible media.
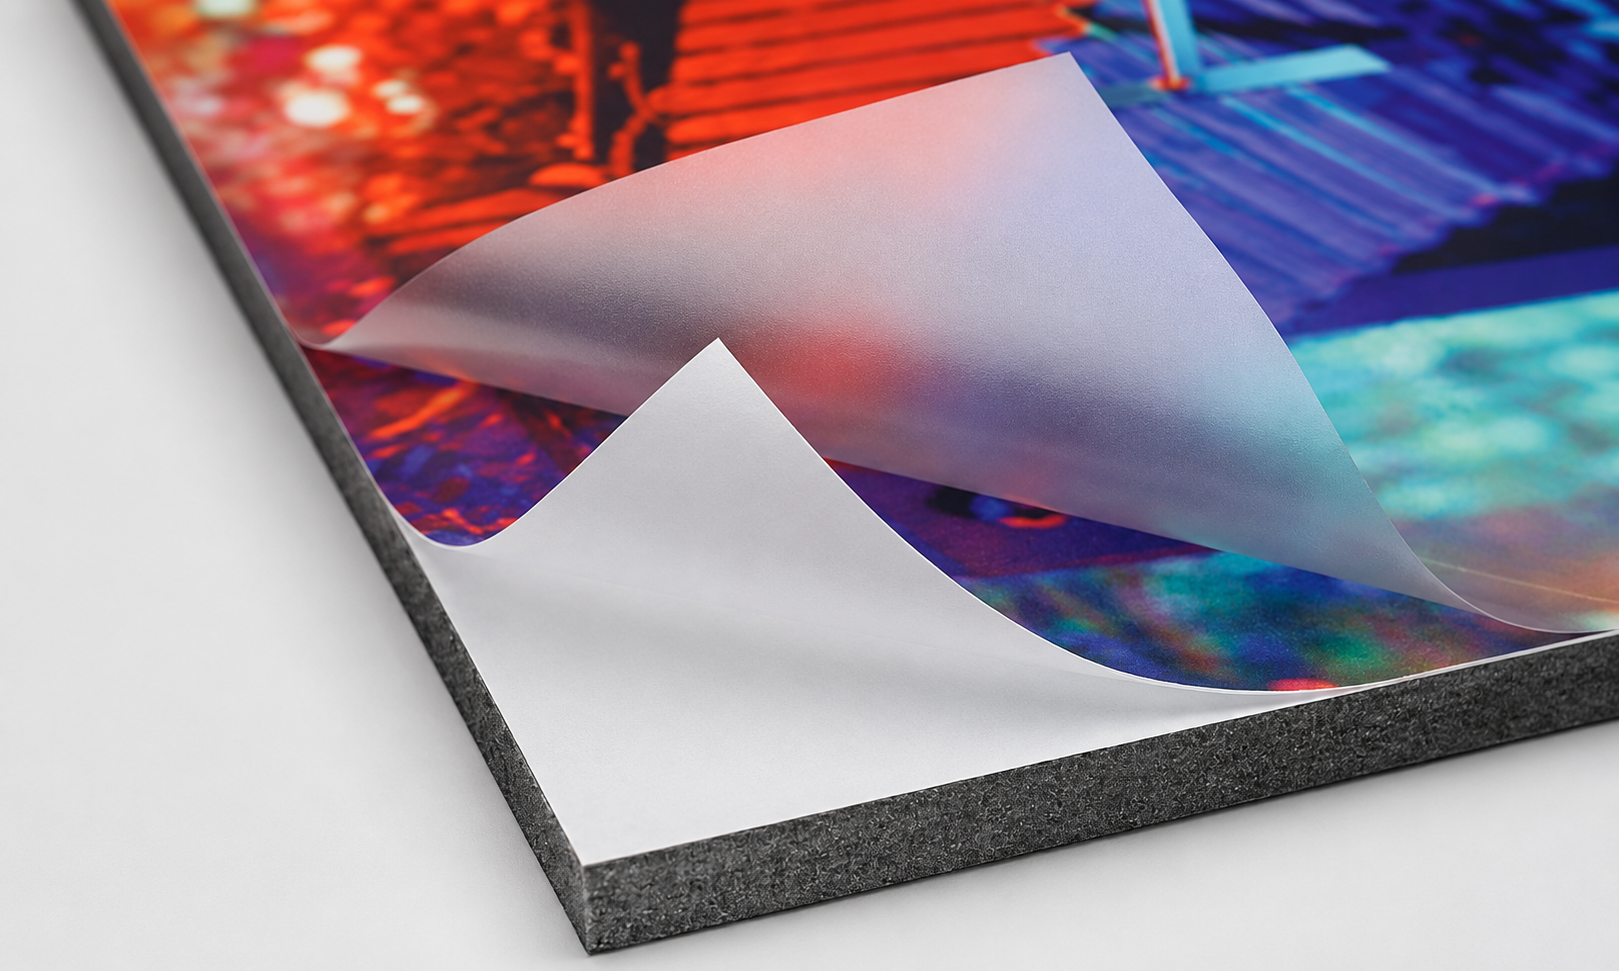
Matte LaminationReduces glare while adding surface protection.
Highlights: Low glare; refined; abrasion protection
Best for: Indoor displays; premium graphics; bright-light environments
Consider: Less color punch than gloss
Cutting & Preparation
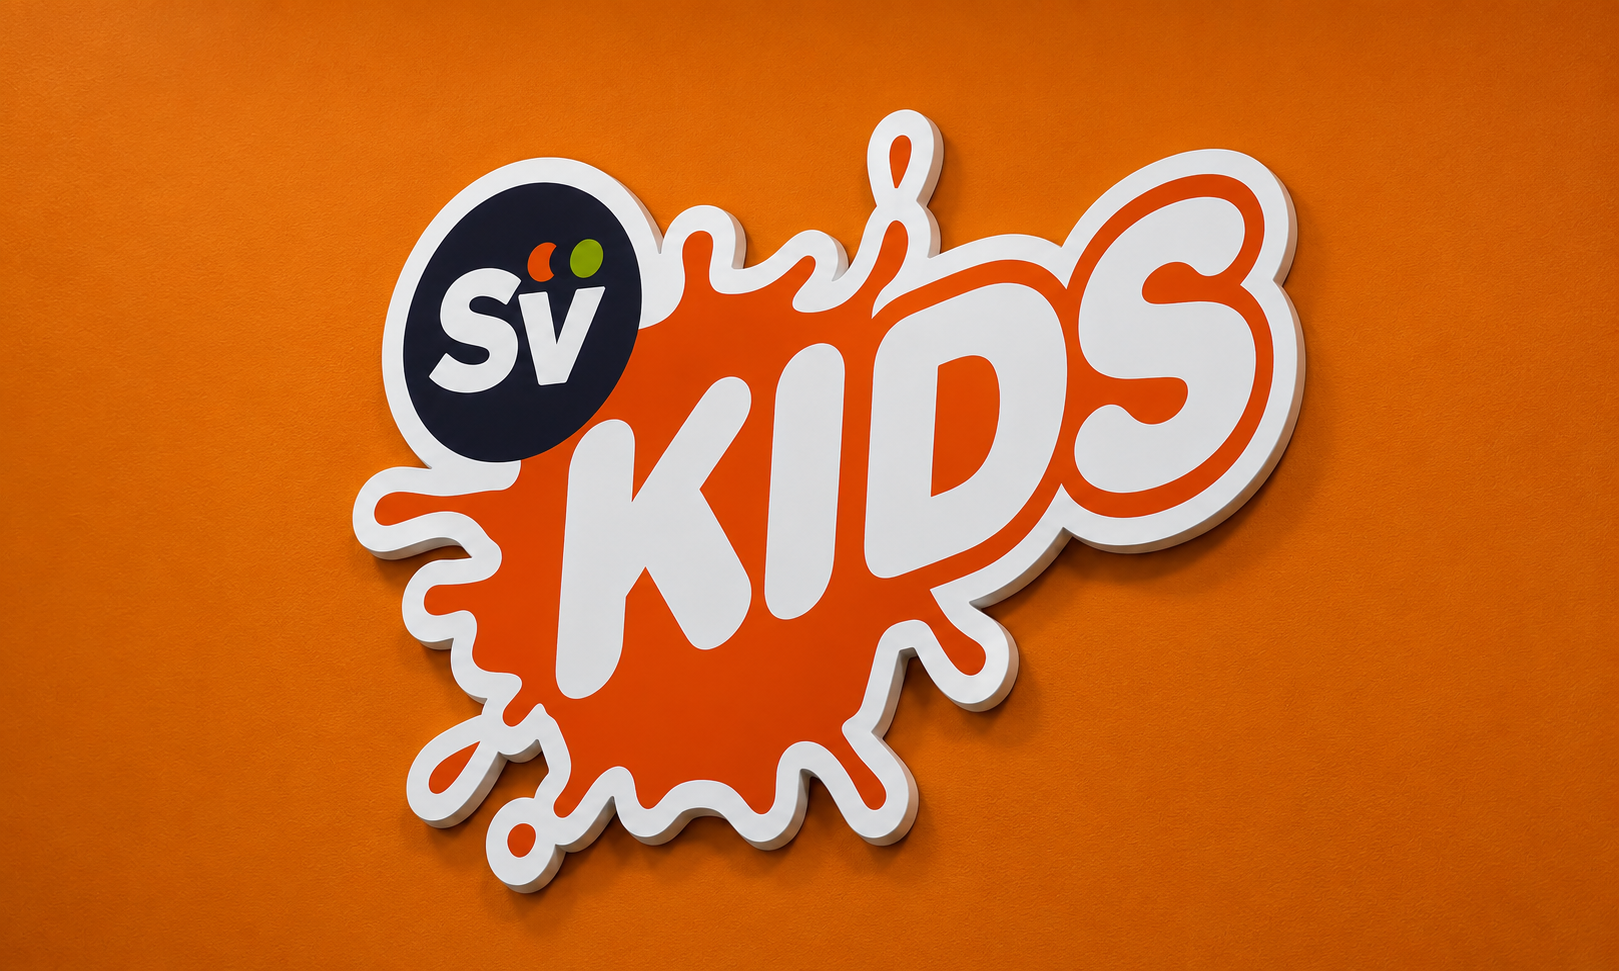
Use Cut to Shape (Contour Cut) for custom outside shapes, vinyl weeding to remove excess material around cut elements, and transfer masking to keep compatible cut vinyl lettering or multi-part graphics aligned during installation.
Contour Cut?Artwork setup
Artwork Setup for Cut to Shape (Contour Cut)Create a closed vector path that follows the exact finished shape of the graphic. Place the cut path on a separate layer above the print artwork and name the layer CutContour.
- Cut path: Use a spot color named CutContour. Set the path to stroke only with no fill.
- File setup: Keep the CutContour path as vector artwork. Do not flatten or rasterize it.
- Safety: Keep important text, logos and critical design elements safely inside the cut line.
- Shape: Avoid extremely small details, sharp inside corners and narrow projections; these may need adjustment for reliable cutting.
- Bleed: If printing extends to the finished edge, extend the background past the CutContour path so cutting variation does not leave an unwanted white edge.
Contour Cut (Custom Shape)
Follows a defined path to produce a custom-shaped graphic.
Highlights: Custom shape; follows artwork path
Best for: Decals; logos; lettering; shaped signs
Consider: Requires clean vector cut path; intricate shapes may need adjustment
Finishing: Artwork: vector contour path on separate named spot-color path/layer.
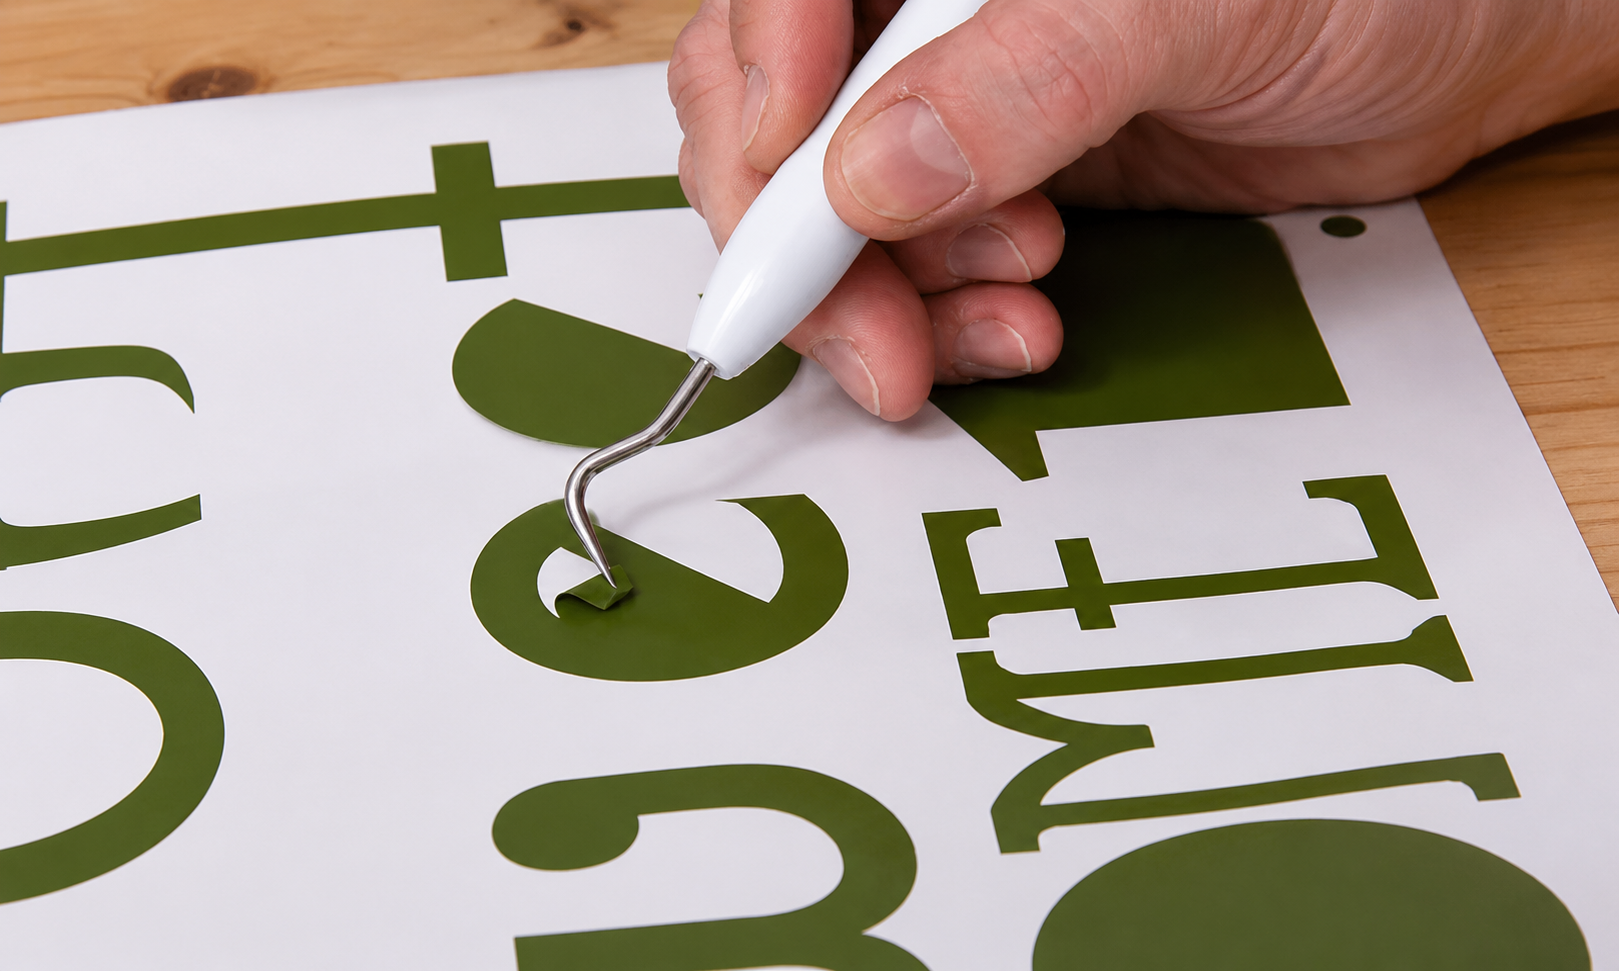
Vinyl WeedingRemoves excess vinyl around contour-cut elements.
Highlights: Removes unwanted vinyl; prepares cut lettering/shapes
Best for: Cut vinyl lettering; logos; separated decals
Consider: Fine details increase labor and limit minimum size
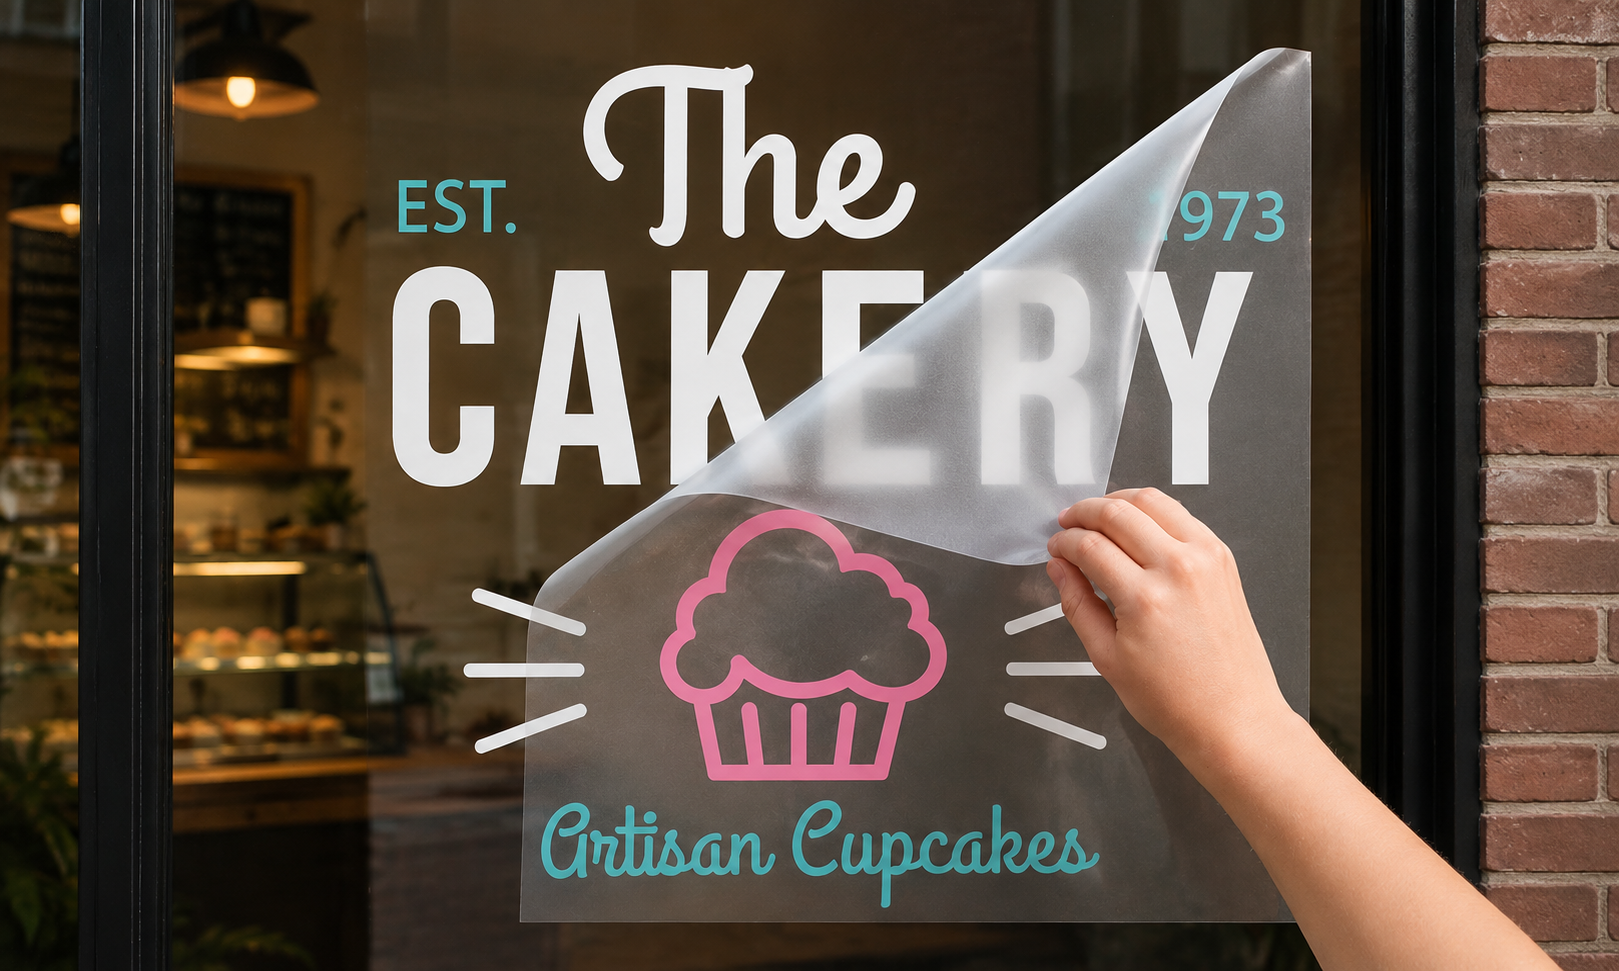
Transfer MaskingHolds individual cut vinyl elements in position during installation.
Highlights: Keeps cut elements aligned; installation aid
Best for: Vinyl lettering; multi-part logos
Consider: Mask is removed after installation
Turnaround
Production speed depends on material, size, finishing, artwork readiness and current capacity. Rush options are shown only when the selected configuration qualifies.
 3–4 Business Days
Standard production
Best for most estimator projects and configurations where normal production scheduling is acceptable.
 2 Business Days
A faster production option for qualifying projects when you need your graphics sooner than the standard turnaround. Availability depends on the selected size, material, printing and finishing options.
 Next Business Day
Rush production
For urgent production-ready projects when the selected material, size and finishing qualify for next-business-day completion.
 Same Business Day
Fastest rush option · cutoff applies
Available only for eligible configurations submitted production-ready before the applicable cutoff. Shipping or delivery time is separate.
Artwork
Choose the workflow that matches how ready the print file is. Large-format artwork should be built at a practical scale with adequate resolution for the final viewing distance.
 Upload Print File Now
Artwork is ready with the order
Upload the production file during ordering so preflight can begin without waiting for a separate file submission. PDF is preferred when practical.
 Upload Print File Later
Provide artwork separately
Use this when pricing or order setup needs to be completed before the final production file is ready. Production timing begins after usable artwork is received and approved.
 Request Design Service (Bill Later)
Design / prepress assistance required
Choose this when the project needs layout, cleanup, resizing, contour-path setup or other design assistance before it can move into production.